Our work on the kitchen continued with a fresh coat of paint for the walls and ceiling. We chose Sherwin Williams’ Greek Villa for this space. We’re using this shade for the inside of the cabinets as well, the only difference being that we’re using Alkyd paint, specially formulated for cabinets.
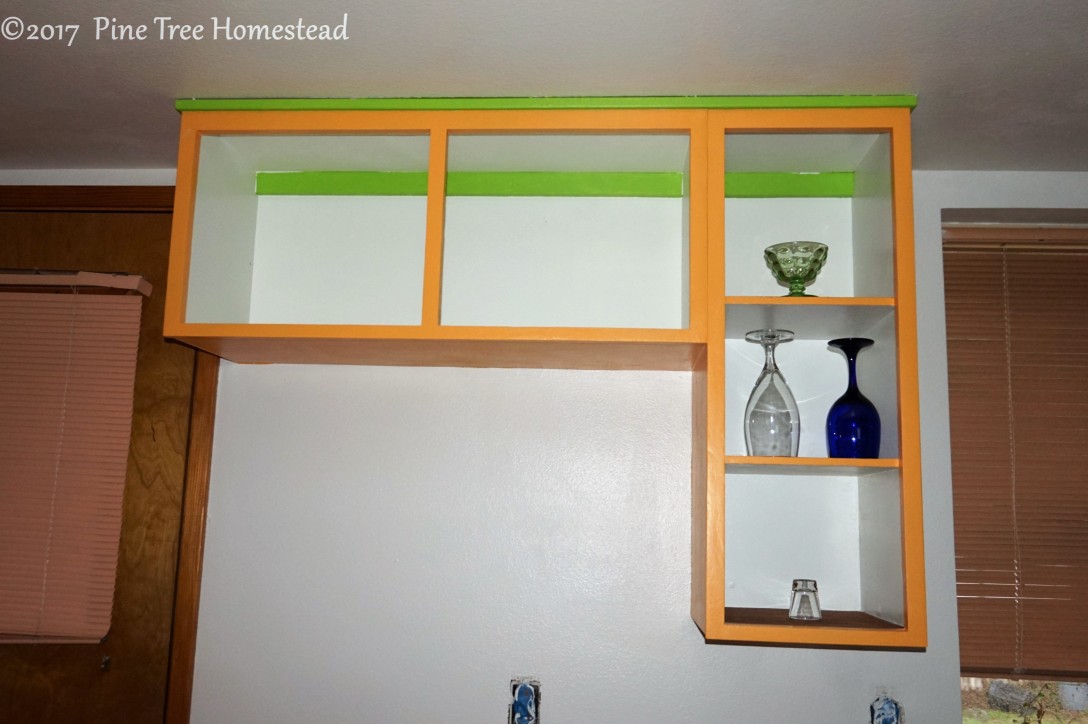
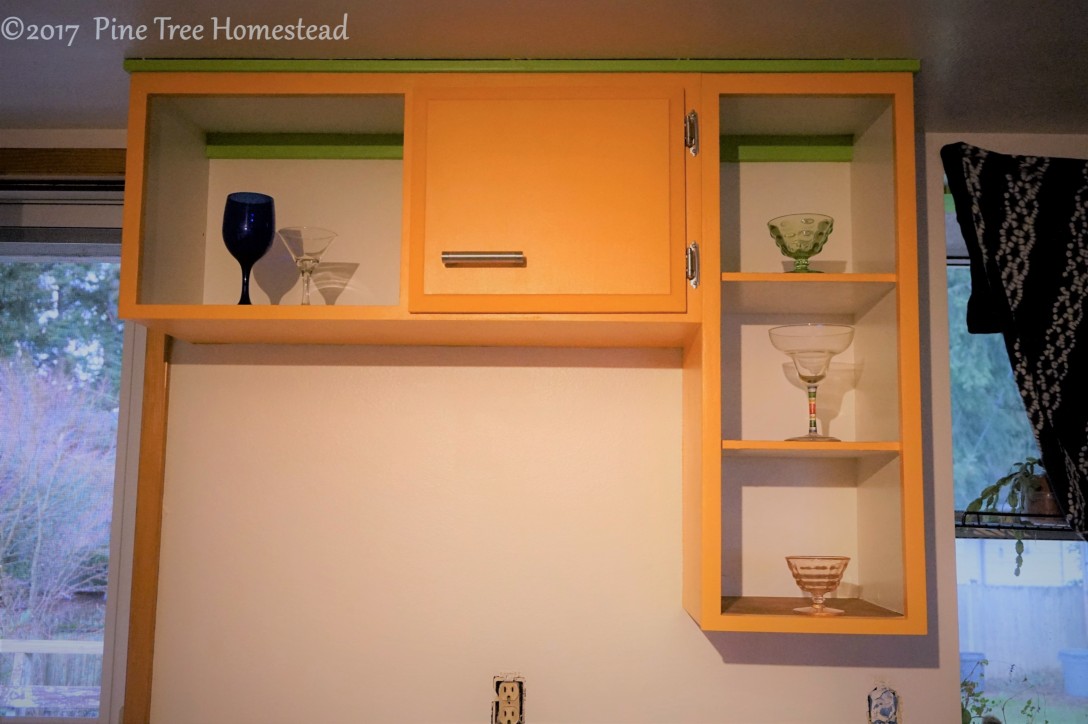
We also finished painting the cabinets above the refrigerator space. Our outside cabinet color is Osage Orange . We want a bright kitchen, because the weather gets pretty gloomy sometimes in the Pacific Northwest. We’re using a primer that’s tinted to 50% of Osage Orange. We also chose to paint the inside and outside trim of the cabinets with a shade called Electric Lime . My husband really wanted that extra touch of color to offset the orange and white. That particular color couldn’t be made in the Alkyd cabinet paint, so we’re going with latex, and it shouldn’t be a problem because the areas we’re painting don’t need industrial coverage.
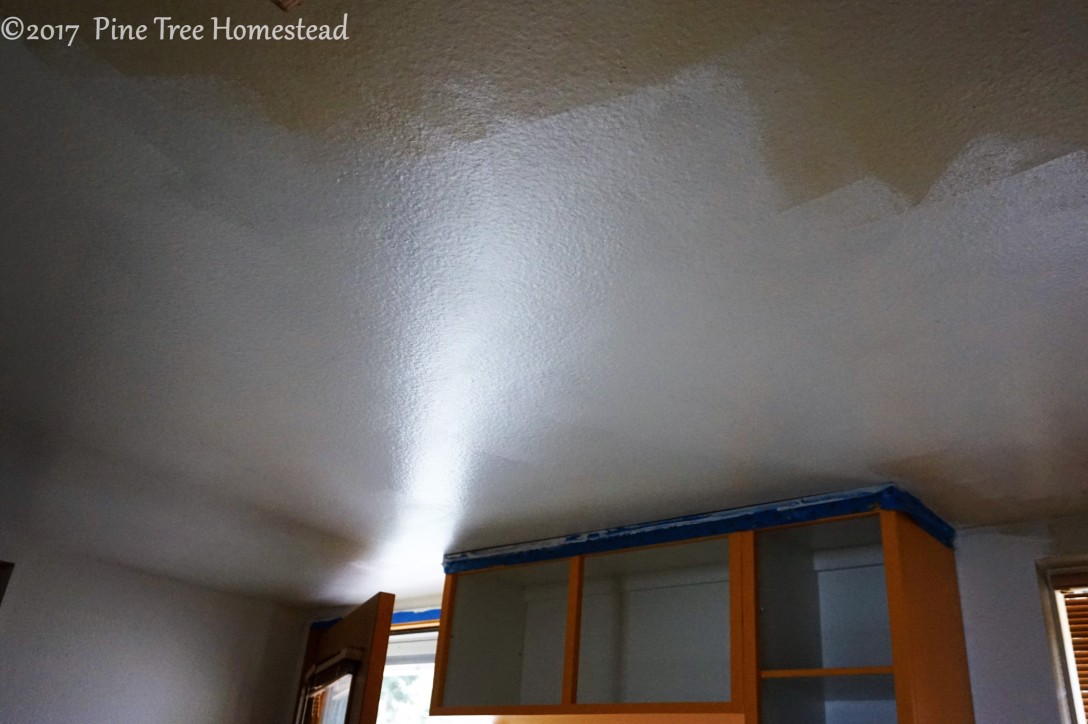
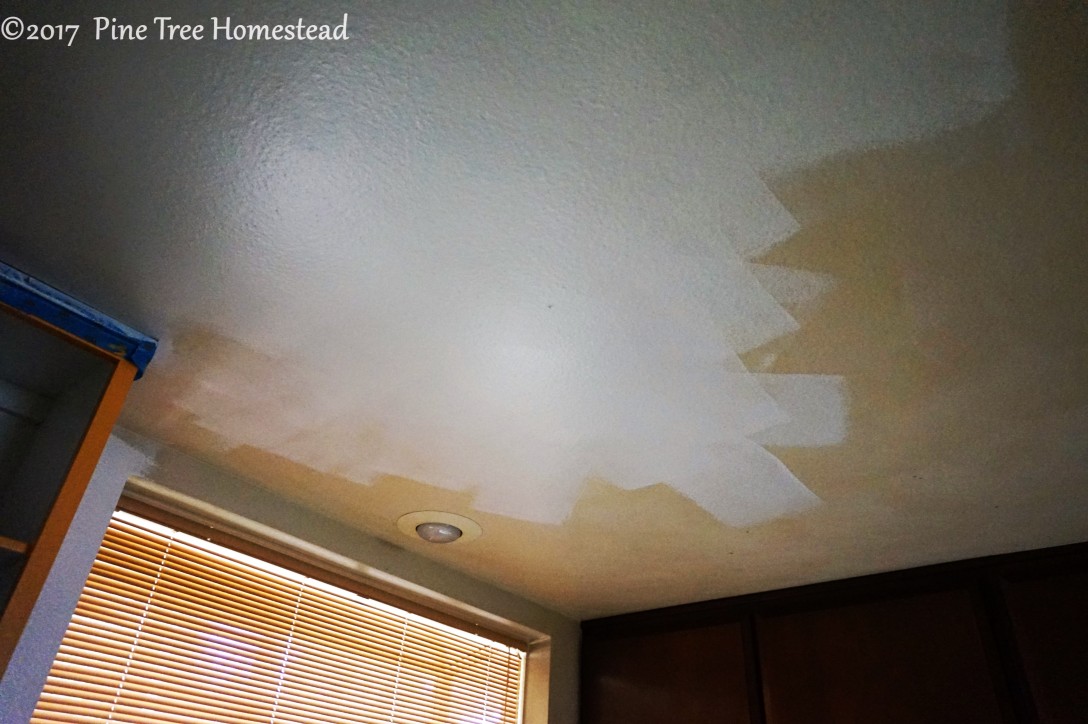
The walls and ceiling were very grungy. Years of grease and lack of cleaning and/or a fresh coat of paint made them really dingy. I scrubbed the walls with a TSP (Tri-Sodium Phosphate) mixture to prep them for painting. The grime was that bad. The ceiling was the same story, except that scrubbing a ceiling is a lot harder than scrubbing walls, and the grease was almost worse there, so I went over it once, and then decided to just paint over. As a result the ceiling required 2 coats.
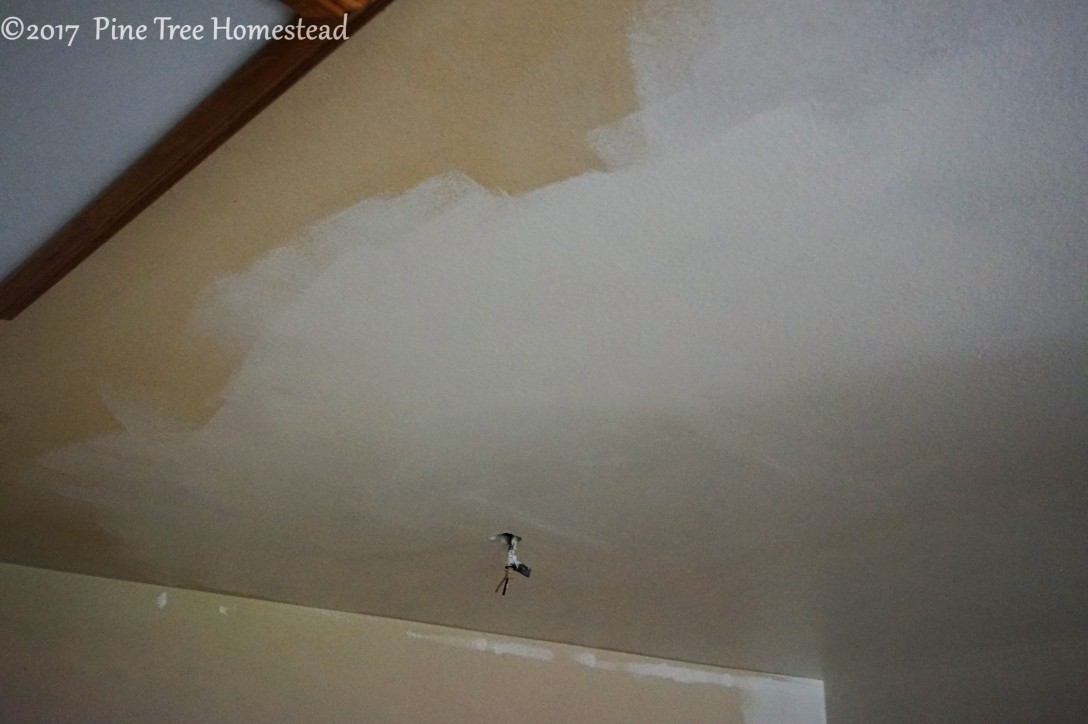
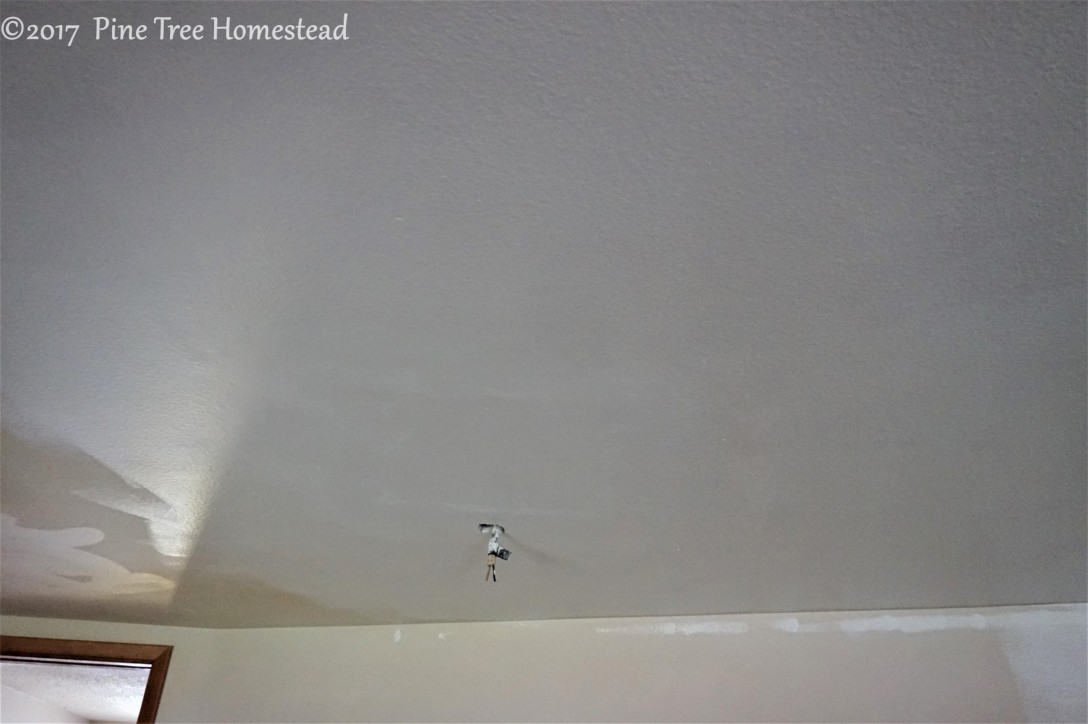
Here’s some of the painting process:

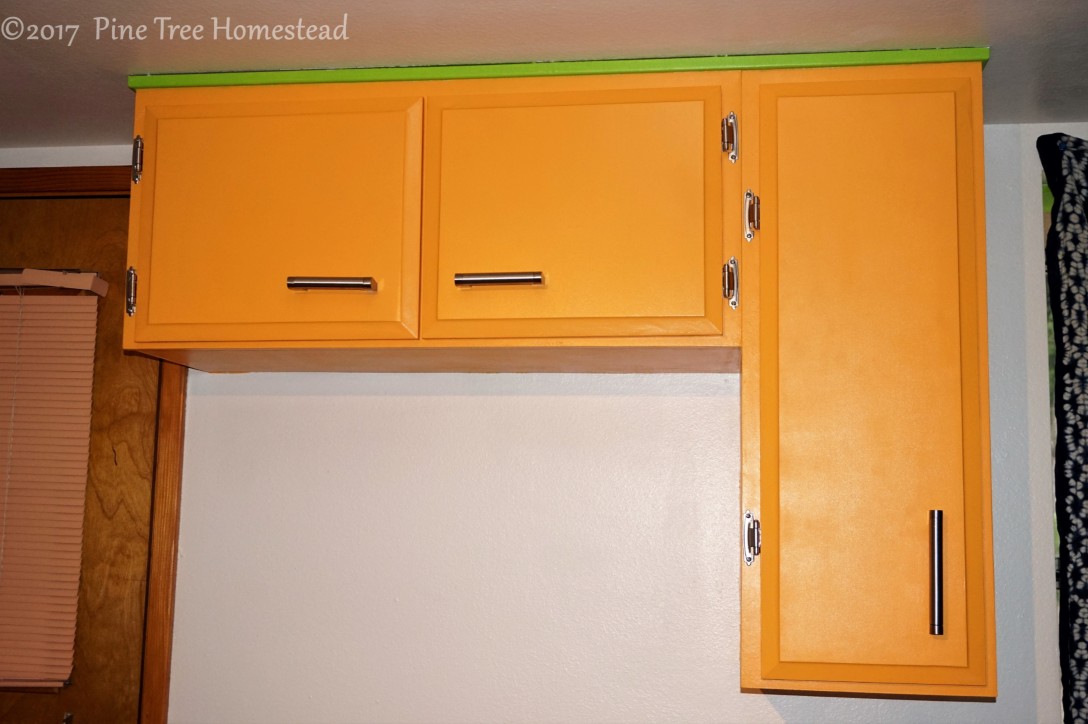
We chose some basic stainless steel hinges and handles for the cabinet doors. We’re happy with the outcome of this set of cabinetry. It’s really starting to look like a fresh update kitchen, finally!
We removed one of the light fixtures (there are 2), as we intend to replace them both. They’re outdated fixtures that use a U shaped flourescent bulb. We want LED track lighting. The next post will show that process in more detail.
Thanks for reading 🙂

I enjoy your posts… you are doing a wonderful job of renovating.
LikeLike
Thanks Camilla, I’m so glad you think so!
LikeLike